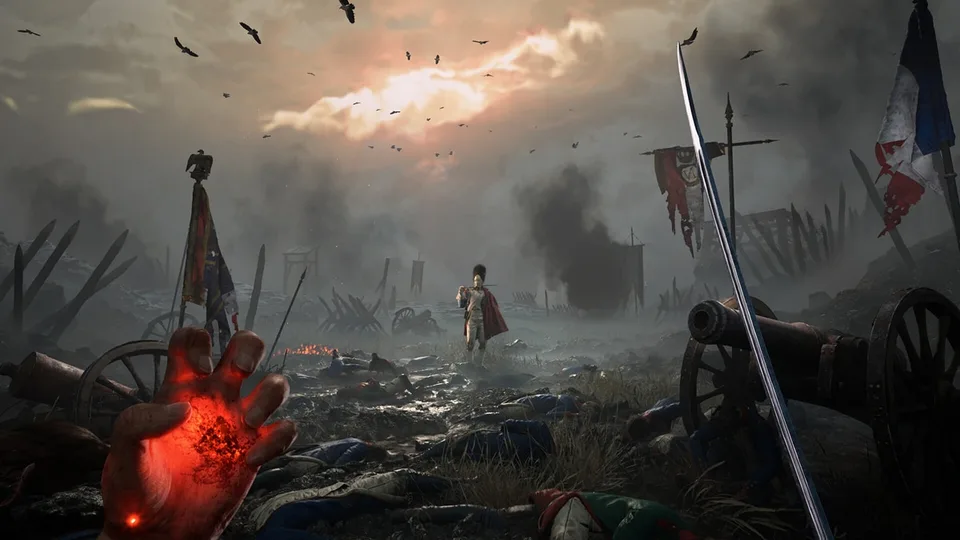
Valor Mortis Demo Boss Guide: How to Beat General Lothaire and Phase 2
Discover effective strategies to beat General Lothaire, the boss in the Valor Mortis demo on Steam. Master parrying, blisters, and phase 2 tactics.
Published: Valor Mortis Wiki Editorial Team
Video Guide
Valor Mortis - All Demo Boss Fights (No Damage)Table of Contents
Introduction to the Valor Mortis Demo Boss Encounter
Tackling the boss fights in the Valor Mortis playtest requires a firm grasp of the game's core combat loops. Specifically, the encounter against General Lothaire, The Eagle Bearer, has become a major talking point among players exploring the Steam demo.
While some community members report sailing through the engagement with ease, many others find themselves hitting a steep difficulty wall during Phase 2. This guide breaks down the essential combat mechanics, positioning habits, and tactical adjustments needed to overcome this hurdle, drawing directly from community reports and player experiences.
Understanding General Lothaire's Combat Mechanics
Spot the Blisters: Aim for the glowing weak points on the boss to harvest dropped bulbs.
Manage the Fire Gauge: Use the harvested bulbs to fuel your purple fire gauge located in the bottom-left corner of the screen.
Master the Parry Timing: Successful parries drop the boss to his knees, opening him up for devastating close-range attacks.
Mind the Reach: Keep your distance and utilize quick side-dodges when he fires his gun or swings with his wide attack radius.
The key to surviving the encounter revolves around aggressive yet calculated resource management. According to player video walkthroughs, shooting the glowing blisters on the boss does more than just deal health damage—it produces small bulbs on the ground. Collecting these items builds up your fire capability, which is vital for dealing consistent pressure.
Furthermore, community feedback emphasizes that treating this first-person action game like a traditional souls-like is mandatory. Failing to respect the timing of your defensive options will quickly result in heavy damage. When Lothaire readies his firearm, execute a clean left or right dodge rather than trying to absorb the impact.
Surviving Phase 2 and Handling Boss Gimmicks
As the fight progresses into its second phase, the strategy shifts significantly. Community reports highlight that Phase 2 introduces a dramatic spike in pressure, catching many unprepared players off guard.
Watch the Transition: When the boss drops down to initiate Phase 2, quickly maneuver behind him.
Target the Back Blister: Fire immediately at his rear blister before he resets his defenses and regains all of his glowing weak points.
Clear Minor Threats: Deal with any summoned additions swiftly with single strikes so you can refocus your attention on the primary target.
Retreat When Overwhelmed: Back away from wide, hard-to-dodge area-of-effect maneuvers to avoid taking critical chunks of damage.
According to player discussions on the Steam community hubs, balancing opinions on Phase 2 vary wildly. Some veterans of hardcore action titles argue that the second phase feels entirely fair and rewards proper mechanic execution. Others voice frustration regarding limited recovery windows and character progression restrictions while capped at lower levels within the demo environment.
Tips for Perfecting Your Parries and Stagger Strategy
Tip
Prioritize Stagger Windows: A clean parry system is the most reliable way to drop the boss to his knees. Capitalize on these openings immediately with a strong thrust to the neck to maximize your damage output.
Relying solely on running and gunning will prolong the fight and drain your resources. Successful runs depend heavily on learning the wind-up animations of the boss's physical strikes. Because his reach is deceptively long, standing just out of immediate melee range while baiting specific animations allows you to step in, parry cleanly, and trigger the stagger state.
If you find yourself struggling with stutter damage or running out of ammunition, remember to reload actively during safe windows between dodges. Maintaining a full firearm magazine ensures you can instantly react when a blister is exposed or when a quick stagger is required.
Community Reception and Balance Feedback
The difficulty curve of the playtest has sparked extensive debate among players. Developer responses in community forums acknowledge that balancing early-game encounters remains a delicate task due to widely varying individual skill levels.
Whether you find the encounters remarkably straightforward or punishingly difficult, mastering the fundamentals—shooting blisters, managing your fire reserves, and nailing parry timings—remains the universal path to victory in the current demo build. Keep these tactics in mind, adapt to Phase 2's aggressive shifts, and claim your victory against General Lothaire.